Motion Capture for the Masses
Motion Capture for the Masses


Demian Gordon, head of the Motion Capture Society, shares his experience of setting-up 8 Sony PS Eye cameras system. He used hand-made solution to mount Sony cameras. You do not necessarily need to do this to use iPi Motion Capture system, but some of advanced users may find this solution useful.
I thought I would document my adventures with the ipisoft system as I install it iand put it through its paces. I’ve got a 20 foot long x 14 foot wide x 8 foot tall area that I intend to cover with the ipisoft system.…
The pseye cameras cost 80 total for all 8…the mounts cost 120 for all 8 and the usb extenders cost 140. Total cost (not including box truss or software) – 340$….with hardware to modify the camera mounts…360$. If I was using tripods I wouldnt have to modify the mounts as much….but they would still need modification…I’m only detailing how I made them rig clampable. The mounts are made to sort of sit on top of a tv and be held in place by gravity…which doesnt work at all to attach them to box truss…so they need some tlc to work.
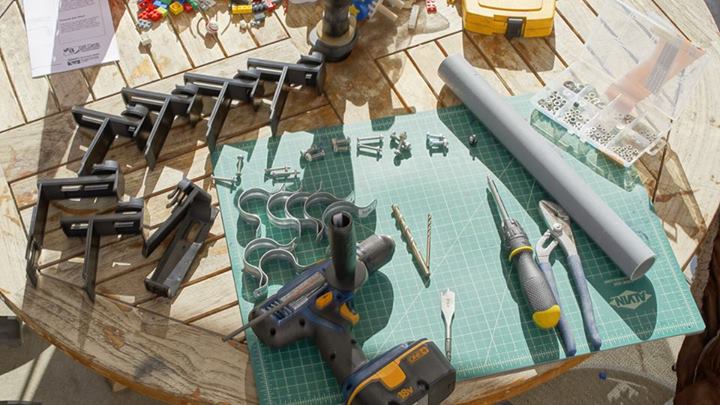
A drill…various drill bits…2 nuts, 2 bolts and 4 washers per camera mount. a packet of felt adhesive pads,….. some pipe straps from home depot (1 per camera mount)
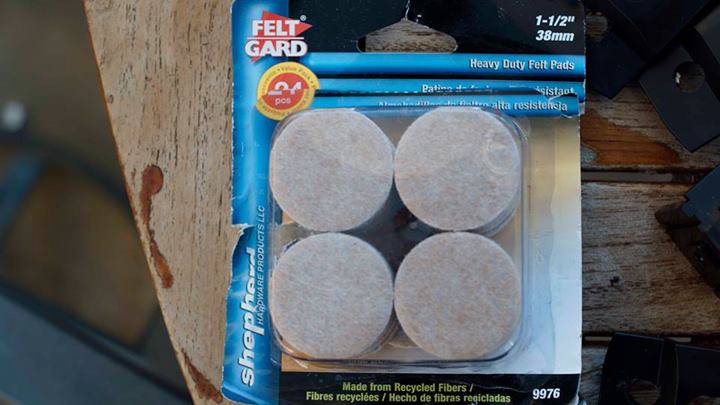
The adhesive felt pads (I just had these lying around…but they work to hold the pseye in the clamp and also to increase friction between the pseye and the mount so the camera doesnt adjust itself as easily as it does normally)
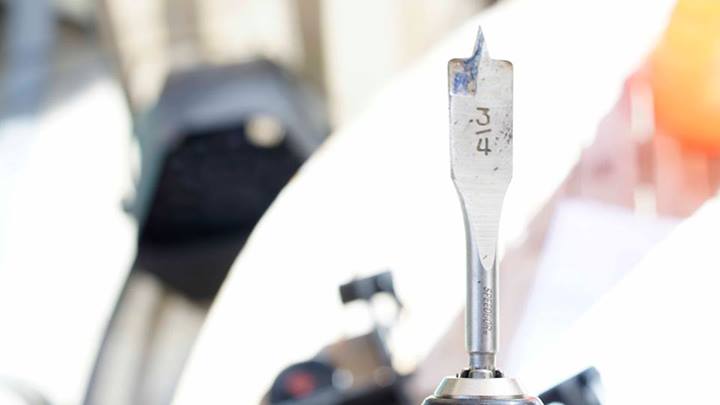
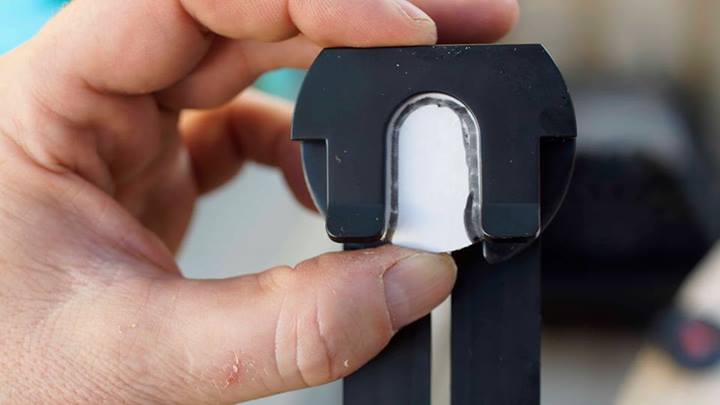
You will need a 3/4 inch drill bit like this to drill the top plate
This is what the unmodified mount looks like initially when it comes out of its packaging
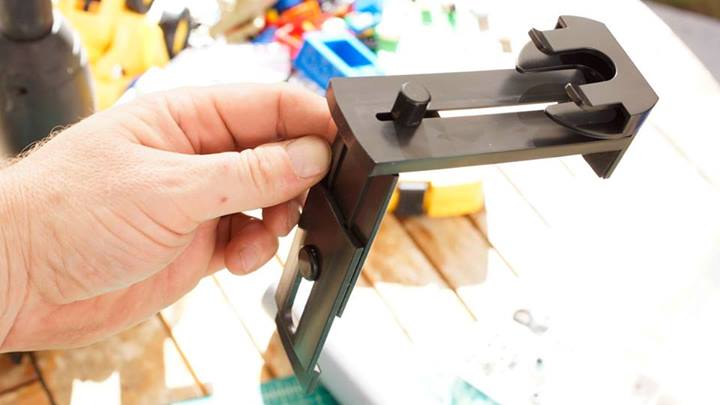
Use pliers to unscrew the little nut at the top
Separate out the pieces
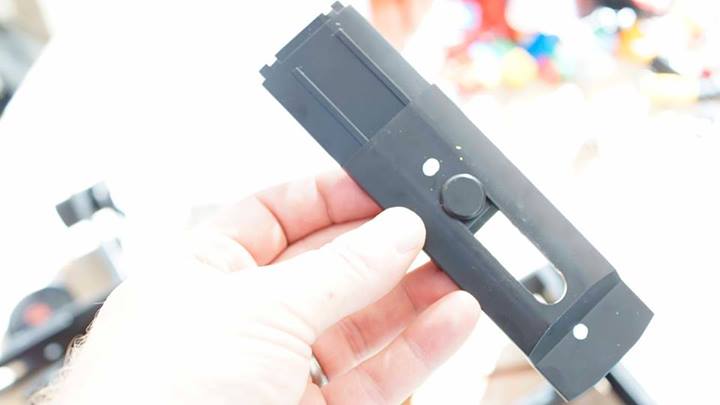
Drill the top plate using the 3/4 inch bit

This is so you can thread the usb cable through the hole and use the existing slot as a sort of cable clamp to prevent any tugging on the cable from being able to effect the pseye camera. Since the pseye is on a ball joint that you cant lock in place I wanted to control the cable, ensure there was strain relief on it and that I minimized potentials for calibration loss due to cameras getting moved accidently.
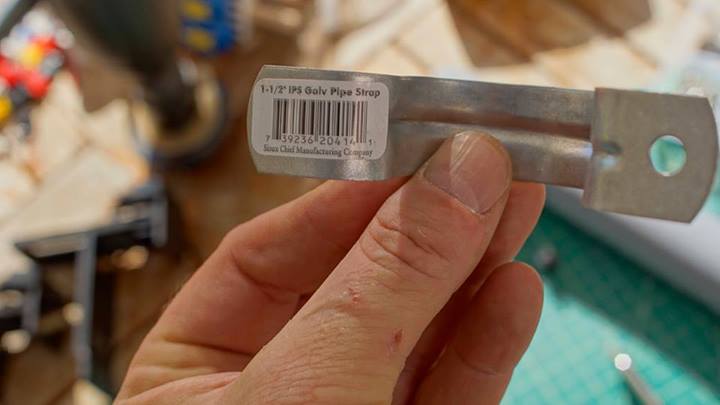
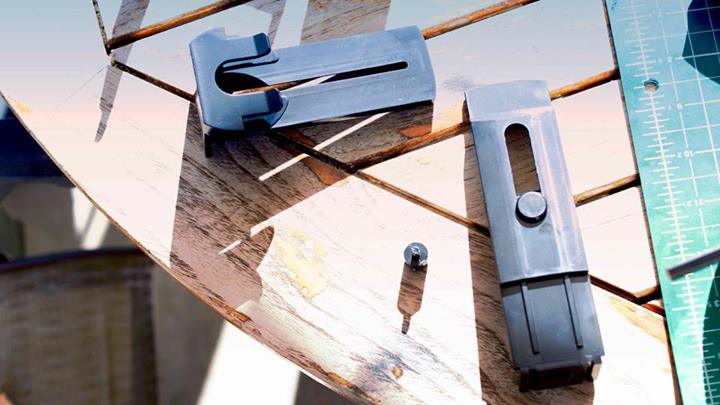
Next I extended the side plate out fully and used one of the pipe straps to mark where I would drill the side plate
Here it is all drilled and ready to attach the pipe strap to

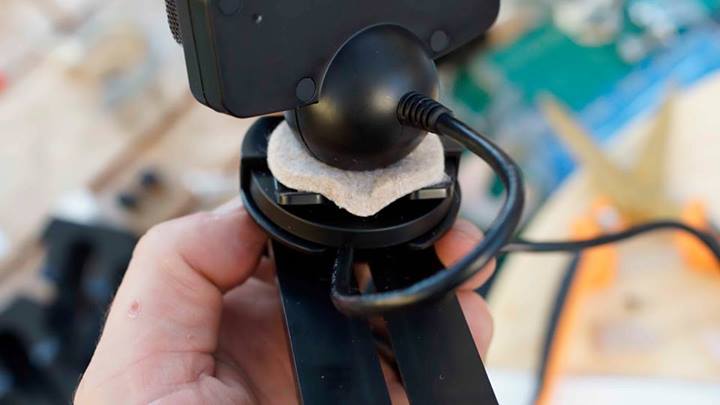
I flipped the adhesive felt pads upside down and used the pseye camera holder to mark out a section on the pad I would cut out so it could wrap around the pseye
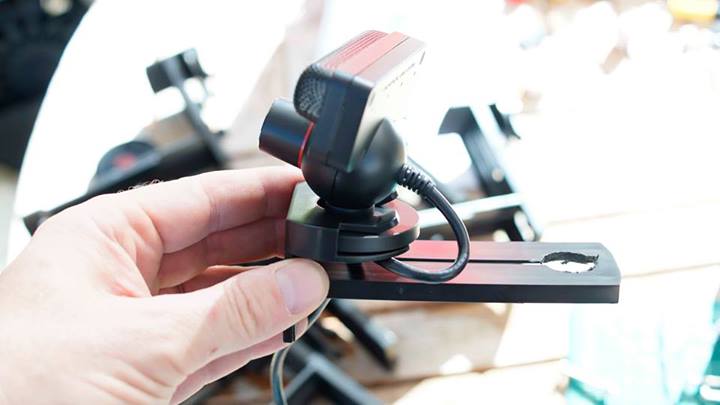
Now I threaded the usb cable through the hole I had made in the top plate and pulled the cable all the way towards the front of the plate, allowing enough cable to give strain relief to the cord.
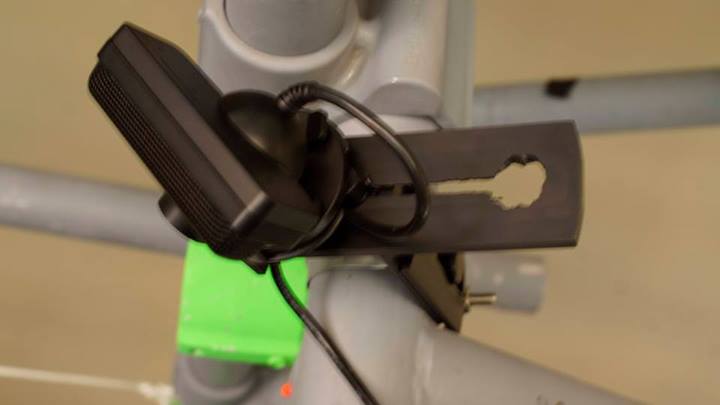
Now I added the adhesive felt pad to the pseye so that it was stuck to the mount and wrapped around the pseye. this increases friction and makes the camera less prone to accidental adjustment. it also locks the pseye camera in the mount. Without the pad the pseye is free to slide in or out of the clamp accidently if bumped. with the pad…the camera and the clamp become one.
I also reattached the top plate to the side plate using the little screw that comes with the mount. I slide this all the way forward until it pinches the cable between the little gap between the mount and the screw. this further locks the cable in place. This also has the effect of further stabilizing the pseye so it is doesnt move around by accident as seen here.
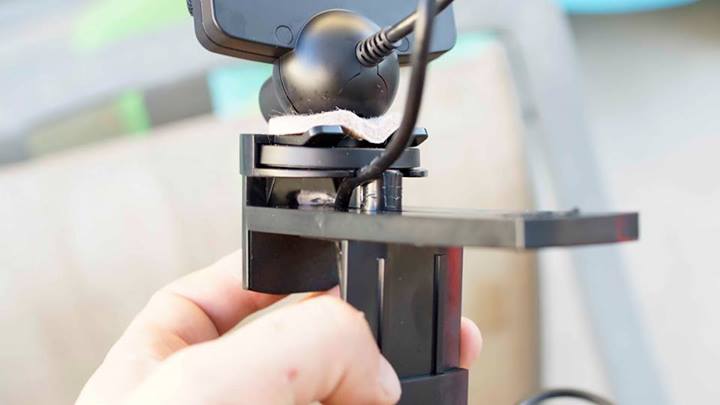
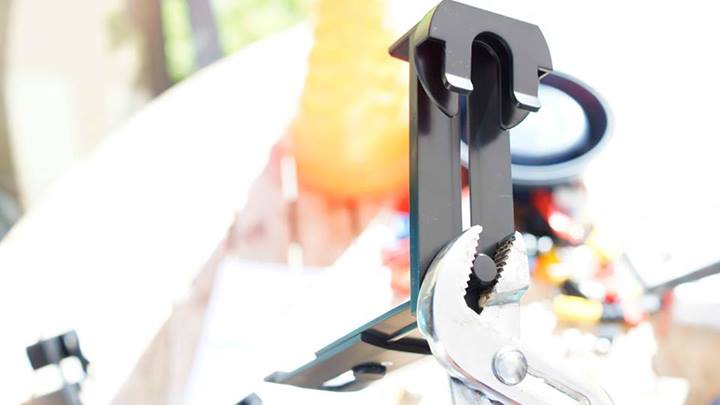
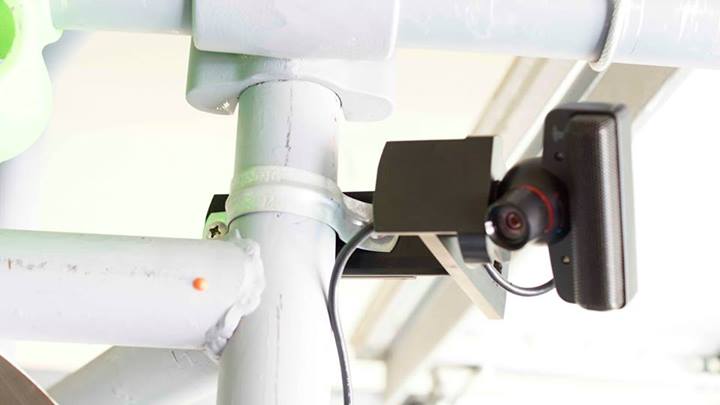
Now bolt on the pipe clamp using the two bolts, two nuts and four washers and its done

This is what it looks like installed
 Thats pretty much it. I didnt really spend much time on this…I just sort of had all these bits lying around my garage…total design time was….nothing….I did it on the fly…total time to assemble all 8 was about a half hour. Next step is to run all the usb extenders back to my pc and then make the cables pretty with zip ties. that will probably take about another half hour. Then I am putting in some led lighting to increase the contrast between the talent and the background. I have 500 feet of led rope light lying around Im going to cover the entire box truss with to make a nice uniform globally diffuse lighting. Thats probably an hours worth of work. I should have the system up and running in a day or two…depending on how much free time I get to putter around with it.
| Tweet |
|

|
||
Comments are closed.